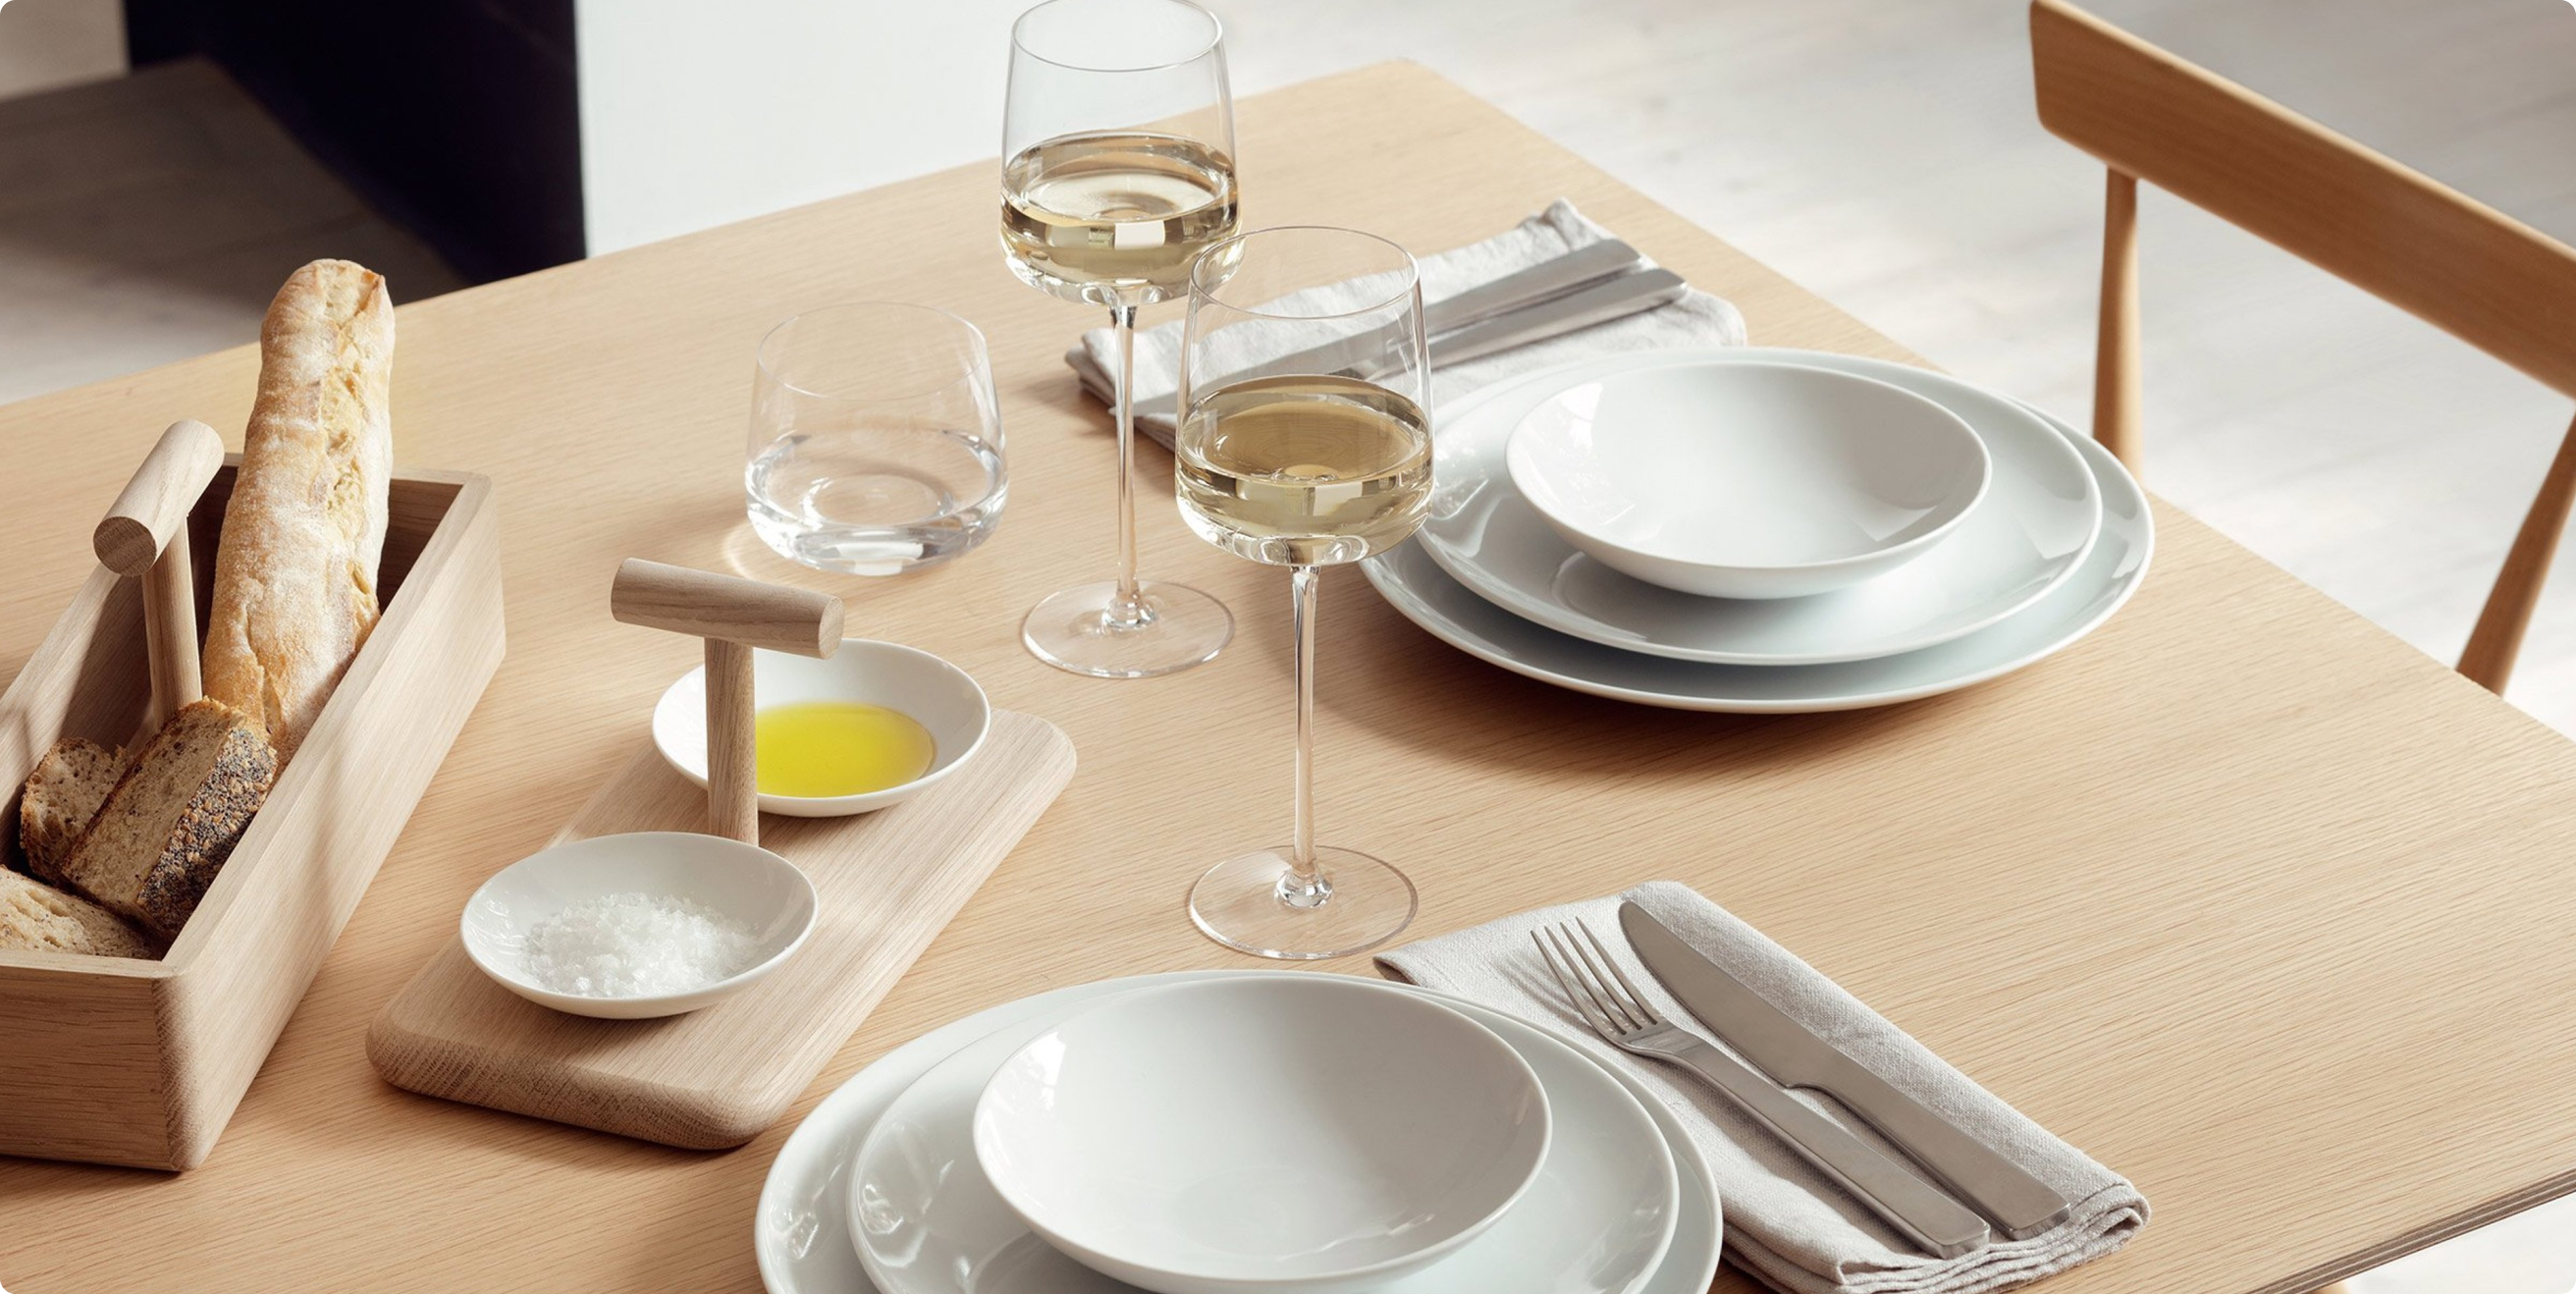
Building Customer Relationships with Photography
We live in such a visual world. From what we see on Instagram and a physical shop front on the high street, all the way to the home page of an ecommerce website. In all of these buying scenarios, we gravitate to the ones that we think are most visually appealing and if we like what we see, we’ll keep browsing and even buy.
The quality and direction of photography is why customers align with your brand. The perceived values, product quality and emanated lifestyle that’s shown in a photo is a visual trigger that engages the customers you want to sell to.
Art Direction is Key to Brand Alignment
Anyone can take a photograph of a product but art directing an image will make a difference to how customers view your brand. It’s the difference between a plain product stock image and a product image with context.
Photography should appeal to the ‘senses’ of customers, the ones they would use if they were in a store, and good quality photography should be able to replicate some of those in order to encourage that click to ‘add to bag’. There’s a considerable amount of ground to cover which is why every retailer/brand should invest in good art direction, to show their products at their fullest to customers.
Source (Gucci at Chatsworth House for the Cruise 2017 Campaign)
According to a study by MDG Advertising, clear, detailed images are deemed to be very important by 67% of consumers. They carry even more weight than the product information, full description, and customer ratings in some cases.
But it’s not just about imagery used on your product page or home page, it’s everywhere else on site and off site. It’s key to your visual marketing strategy because it can help to increase engagement and click-through rate. If you’re promoting a new collection, for instance, show off the concept of that collection and the lifestyle your customers lead or aspire to in your imagery and use it throughout for consistency in engagement. Images and videos are the ambassadors of your brand and nurture prospective closer to conversion.
“You’re not selling a product, you’re selling a lifestyle”
There are seven types of product photography you can go for and these days, ecommerce websites that are doing well, incorporate all of them and use them only where necessary.
Compatability (features of compatibility eg zips, cables or sockets, buttons, reversible clothing etc)
Lifestyle (showing products alongside others)
Customer (UGC and social proof)
Textural (extreme close-ups to highlight the additional details)
Size and proportion (in a proportional context)
Usage inspiration (the product being used in a situation)
Animated (images with customers using the products)
Lifestyle images are known to increase conversion because you’re selling a lifestyle and telling your brand story. It’s also why so many brands create lookbooks or use shoppable Instagram modules.
A great example that we love from a visual marketing and ‘lookbook’ perspective is & Other Stories who deliver daily lifestyle, usage inspiration and animated image campaigns via their emarketing channel to customers in a bid to drive sales. And each day they match up their Oxford St storefront to match the latest campaign! Here’s the mailer from 18th Jan 2018.
The models used in & Other Stories campaigns are strategically chosen to reflect their customer and the lifestyle they lead, they certainly wouldn’t look out of place in one of their stores. The same can be said for the likes of our clients Varley who only use fitness models that promote the ethos and lifestyle of their brand. Their marketing team are also dedicated to maximising the opportunities that UGC brings.
How to maximise conversion with great photography!
Step One. Art Direction
This is the most crucial stage as it sets the tone of the content that will be generated on the day. Whether you’re defining this yourself or if you’ve commissioned an agency to help you, the key things an art direction document should include are:
What is your brand
Who are your customers
The brand lifestyle
The purpose of the content that will be produced, where it will be used and how eg emarketing campaigns, ecommerce, ecommerce blog or lookbook, social media etc
The brand’s influencers for this campaign
The essence of the brand
Location notes – studio or off-site?
General notes for photography – describe the style if possible eg naturalistic, neutral shades, easy elegance, soft lighting and shadows, colour palette and shading etc.
Models – what they are and what they aren’t. Think about the model themselves, style of makeup/hair for headshots, clothing, stance, full body style and close-up portrait shots.
Close-ups of products – textures it should be shot against if you’re not using white, shadowing types etc.
This level of information will not only help you to materialise your ideas but it will also act as a brief for the photography studio.
Step Two – The shoot itself
You’ve briefed the studio (photographers, directors, MUAs, hair stylists, set builders, lighting team etc), auditioned the models, they’re out of hair/ makeup, you’ve prepped your products, got the studio and/or location ready, you’re good to go! Always keep the brief with you and ensure every part of that brief is met, even talk through it with the models on the day to help them capture the mood you’re going for. NB: For any products that are metallic or would show up fingerprints easily, make sure those products are being handled with cotton gloves to reduce time spent in re-touching.
For your product photography, ensure you have a combination of the following depending on your products:
Front
Sides
Back
Birdseye view
Textural
Our Digital Designer, Léa Genovesi, advises that you should think about:
The ratio of your image. Will it be a full bleed panel, a height high rectangular, a square image on Instagram? Considering the formats before the shooting helps to create a composition that perfectly fits your content space. Most of the images are used in several ratios, in order to retouch and expand them easily, so I’d recommend that you avoid very complicated backgrounds on the edges of a photo.
If you are shooting in natural light. You should be aware of the changes in colour due to the time of day and the weather. In general, it is good to verify the balance colour with a colour checker.
The photograph format. This needs to be provided by the studio to you in several formats : .tiff, .RAW ( if big retouches needed), jpg but check if you need other ones.
Step Three – Re-touching
Retouching is essential to create a uniform look across your store and create professional, polished images that engage visitors.
Some of the retouching tasks you can expect to do include:
Removing any imperfections from the product
Advising on the crop
Editing the photos to achieve the look/filter style you need for the campaign
Background removal
Colour correction
Mannequin removal
Shadow addition
(source Lowndes London)
Step Four – Use them!
Start building your marketing campaigns around your images, art direct your home page and category listing around the shoot to create a more immersive experience for your customers and then upload your products (disabled status) in Magento until the campaign is ready to launch. You can then bulk enable them on the day for a direct upload to the site.
Building conversions from customer trust
Images grasp consumers and hold their attention, forming their first impressions of you as a brand. Therefore, it’s crucial for brands to ensure their photography is high-quality and unique to the brand. The internet is flooded with visual content (thank you Pinterest and Instagram) but only a handful of it actually improves non-verbal communication and influences consumer emotions. That is the difference between generic photos and photography that tells a story about your products.
In short, it is worth investing in art direction and good photography because high-quality photography adds authority, which in turn generates the trust of the customer.


